


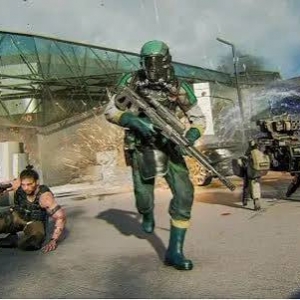


The nuclear facility mission in Delta Force does not give you much breathing room. From the first radio call, it is clear that the place is on the edge of a meltdown, and every squad member has to pull weight. If you are chasing better gear or just trying to stay alive long enough to extract, this is the kind of run where Delta Force Items matter a lot, because the right setup can decide whether you limp out with loot or get buried under the chaos. The atmosphere feels tight from the start, with alarms in the background and that constant sense that the clock is already against you.
Getting Into the Plant.
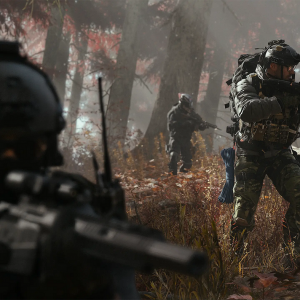
What makes this mission stand out is how quickly it stops being a simple shootout. You are not just clearing rooms. You are moving through a damaged power station, looking for keys, access points, and whatever still works in the fuel system. Players who rush usually get caught out. The smarter move is to keep your head up, check each corner, and let the team split tasks when it makes sense. One player can watch the hall, another can handle the lock, and somebody else can keep an eye on the minimap for movement. It sounds basic, but in this mission, basic habits save runs.
Radiation Changes Everything.
The radiation zones are where a lot of teams start falling apart. You will hear warnings, see health drop, and realise fast that staying in the wrong place for even a little too long is a bad idea. That pressure changes how you move through the map. Safe routes matter. So does pacing. It is also why some players choose to buy Delta Force Tekniq Alloy before heading in, since upgrading key gear beforehand can make the whole run feel less punishing. Nothing about this mission rewards panic. If a squad gets greedy and lingers in a contaminated room for one more crate, the mission can turn sour very quickly.
Enemies Keep the Heat On.
Enemy pressure never really lets up. Scavengers push from awkward angles, security forces hold choke points, and radio chatter keeps warning you that more contacts are coming. That constant noise matters. It messes with your rhythm. One minute you are opening a locked container, the next minute you are trading fire in a narrow corridor with no clean cover. Good teams do not just aim well here. They communicate, shift position often, and avoid getting pinned down. You can feel when a squad is working properly, because the whole run looks smoother even when things are going wrong.
Why the Final Push Feels So Good.
The last stretch is where the mission really lands. Reactor 2 gets closer to failure, alarms get louder, and every step toward extraction feels heavier than the last. If you have gathered the right loot, opened the right safes, and kept the team together, the escape feels earned. That is probably why this mission has caught on with players who like high-risk co-op runs. It is not just about firing first. It is about making smart calls, keeping calm when the facility starts to fall apart, and leaving with more than you brought in.